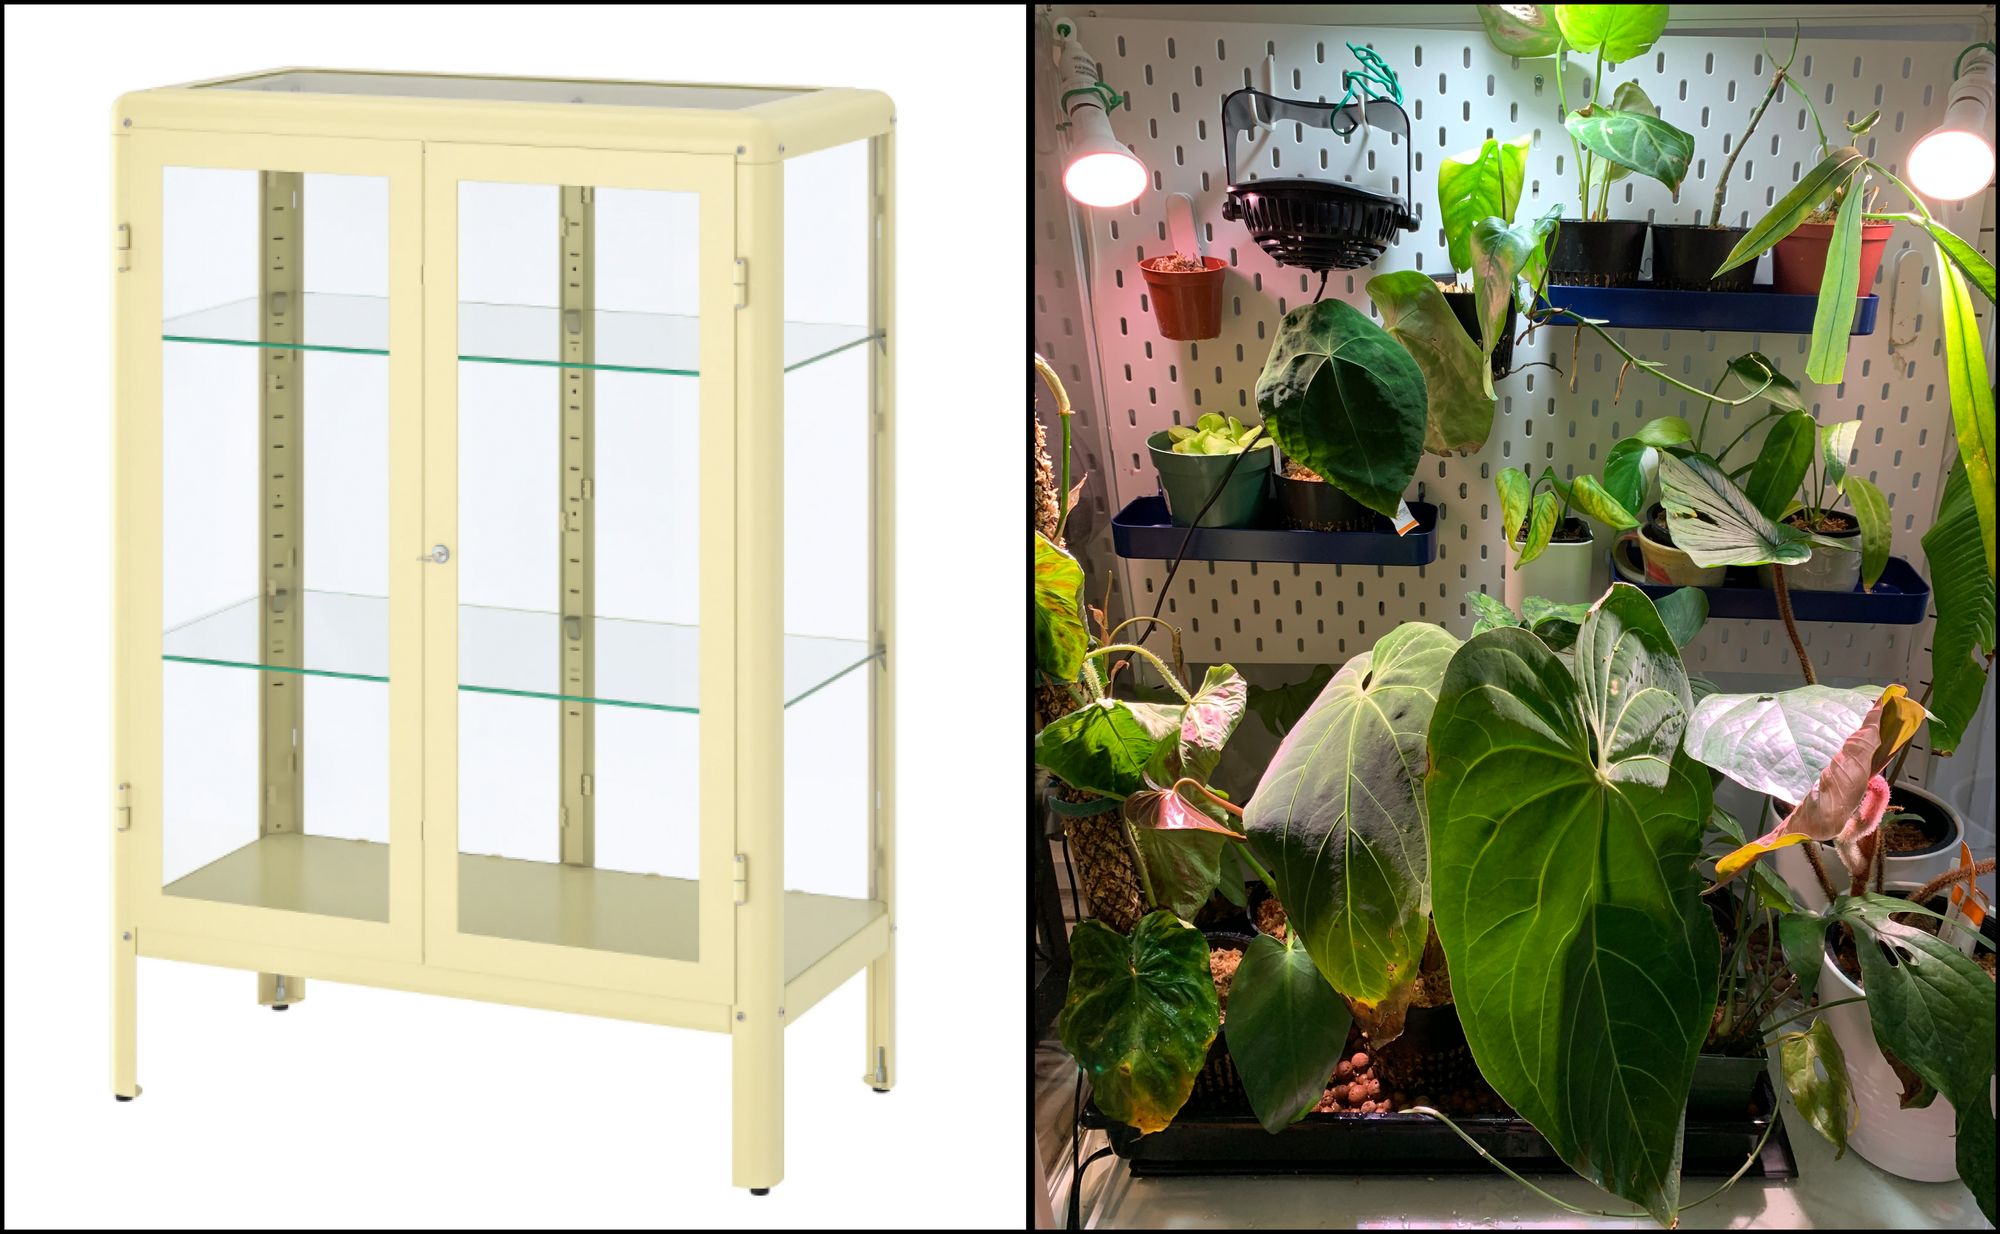
How to convert Ikea Fabrikor (wide) to a greenhouse
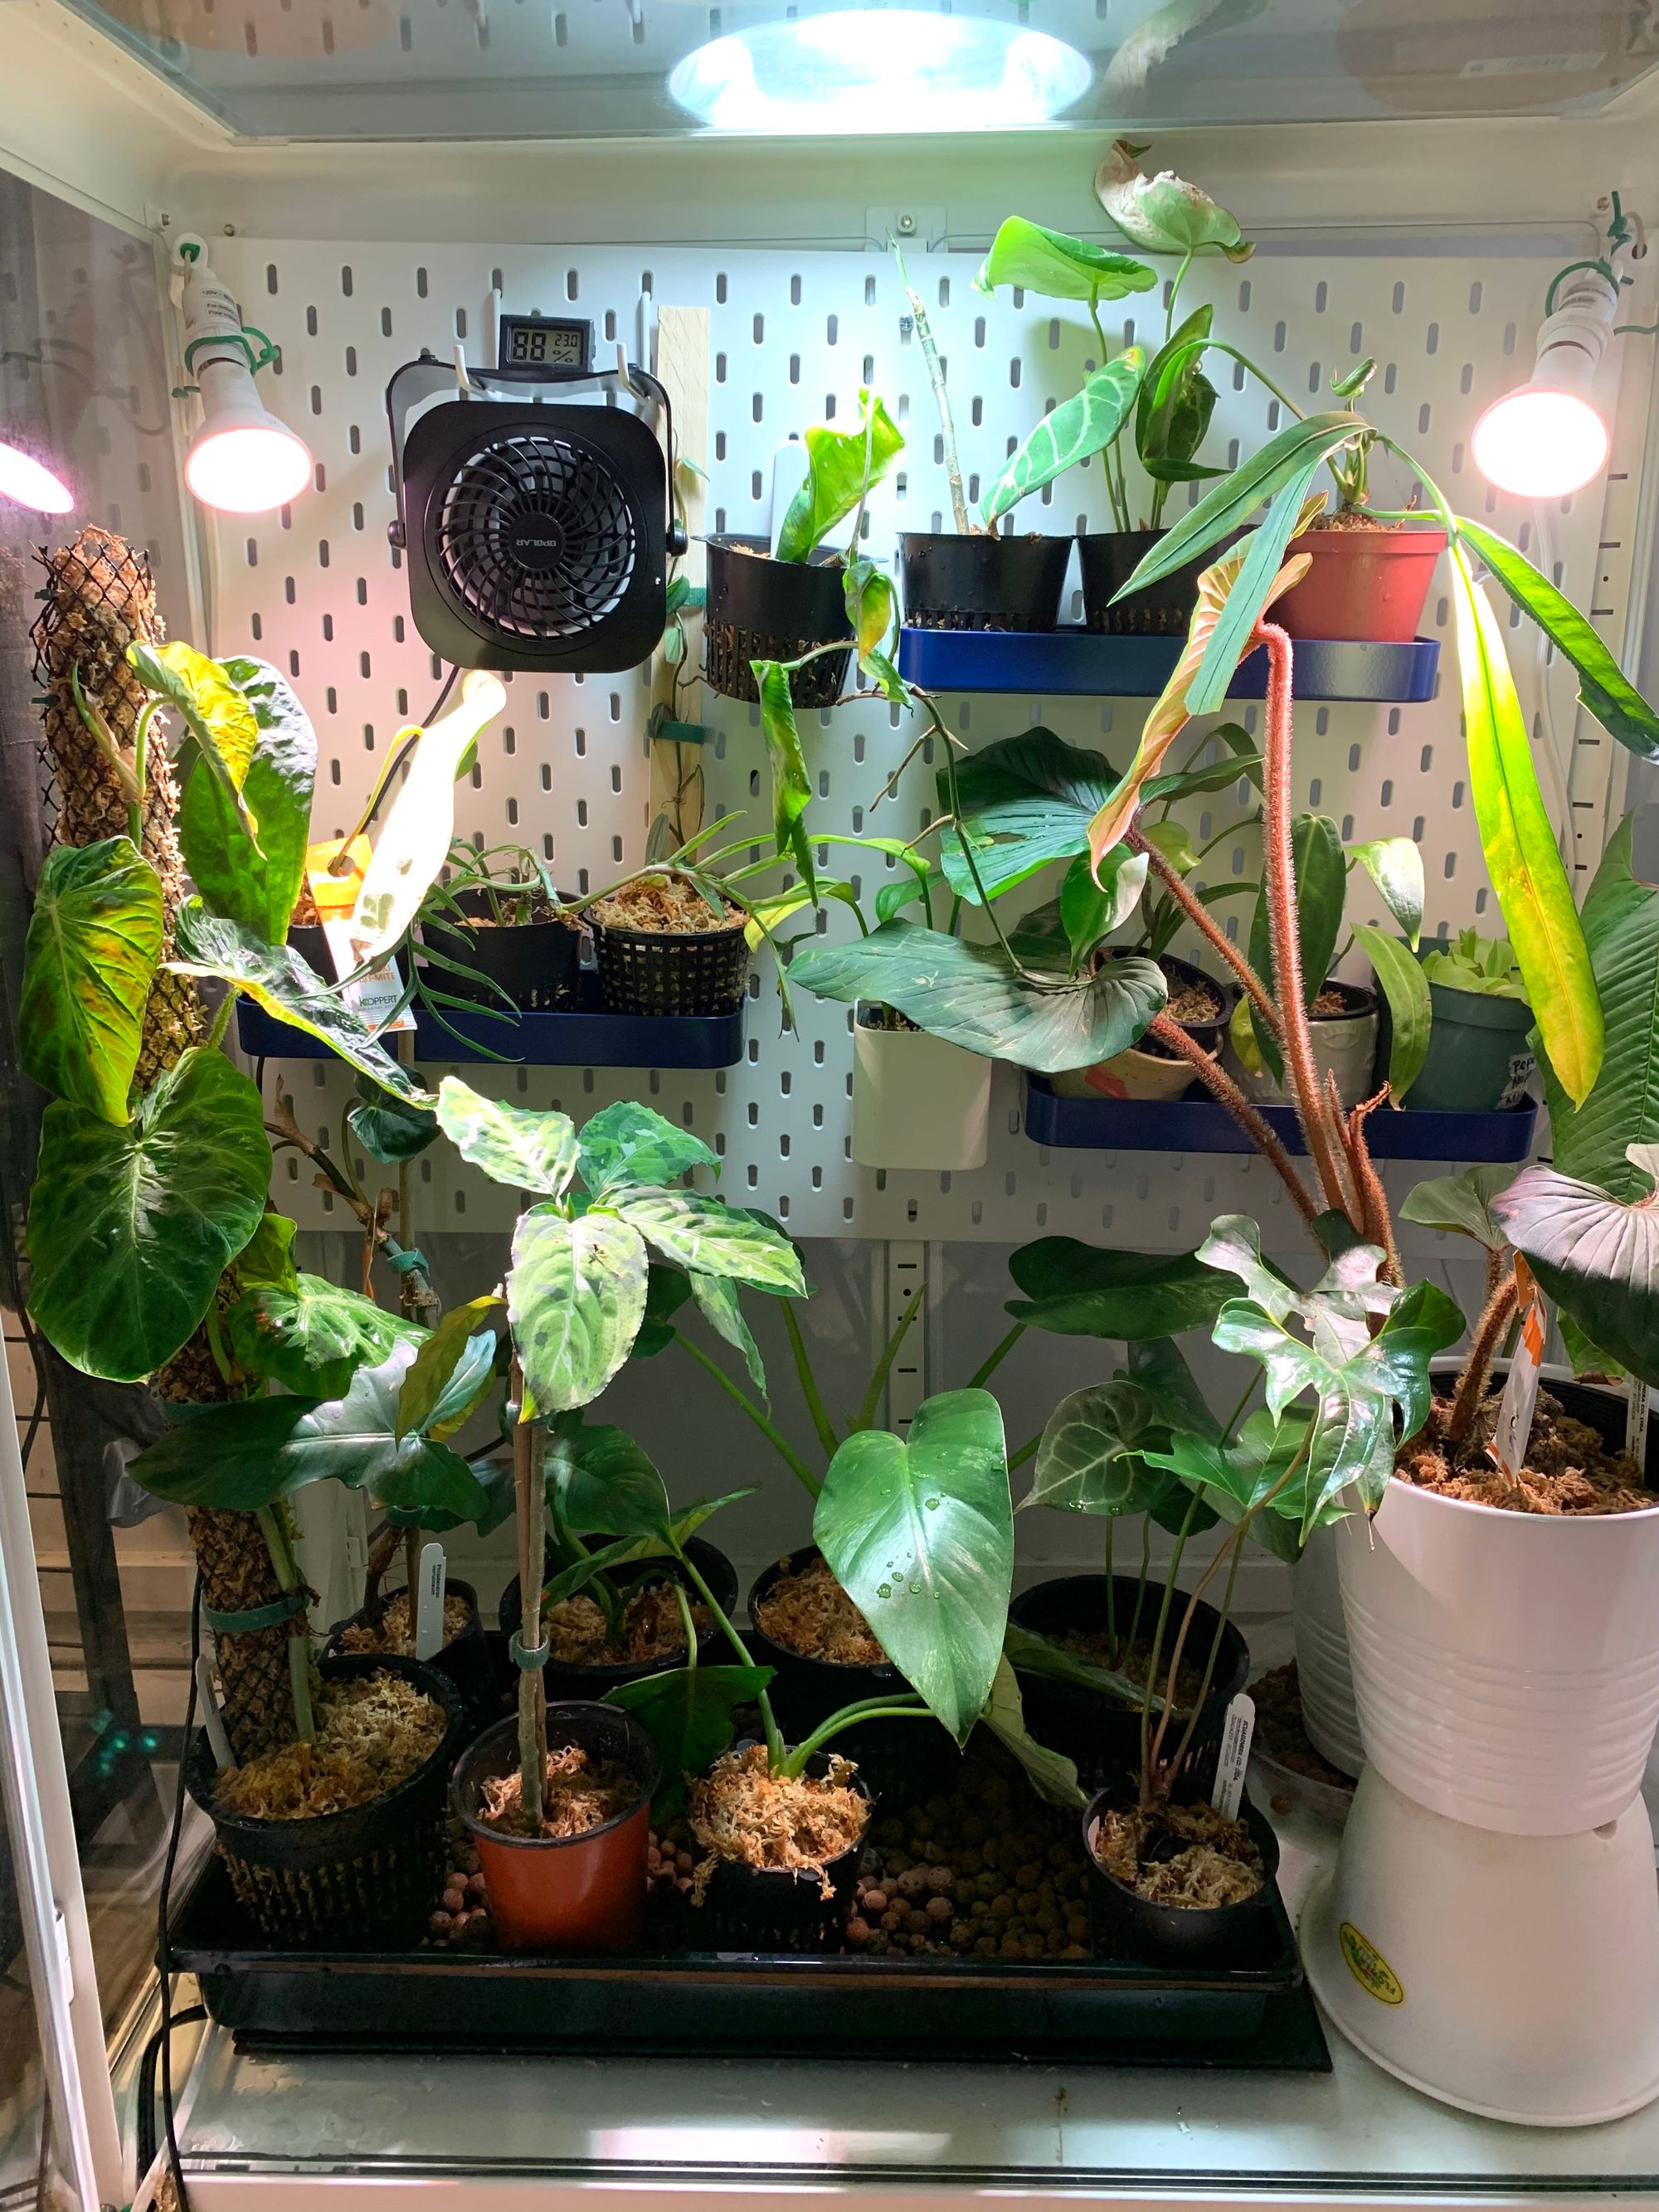
Continuing our series on Ikea cabinet conversions into greenhouses. In this post, I will outline all the steps I took to convert the Ikea Fabrikor (wide) into a functional greenhouse.

Continuing our series on Ikea cabinet conversions into greenhouses. In this post, I will outline all the steps I took to convert the Ikea Fabrikor (wide) into a functional greenhouse.
If you're interested in converting the tall Ikea Fabrikor, check out my other blog post here.
Again, I have to acknowledge the very knowledgeable, helpful, and welcoming Facebook group, Ikea Greenhouse Club and the (unrelated) Instagram account of the same name. These groups are a wealth of information and are a testament to the ingenuity of plant lovers and collectors.
List of all the items I used to convert the Fabrikor (wide) into a greenhouse:
- Ikea Fabrikor (wide) cabinet (white is now discontinued)
- Skadis pegboard 30" x 22"
- 2 x E12 light bulb cords
- E 12 Ikea Vaxxer series growlights (now discontinued in Canada; product link for UK)
- M6 machine screw kit (M6 machine screws, bolts, washers)
- Zip ties
- 2.8 " S-hooks
- USB fan
- Smart plug
- Heat mat
No shelf in my conversion:
I decided to forego shelves in this cabinet because I wanted more vertical space for my taller and larger plants. And with the Skadis board, I had plenty of space for plants.
Want shelves? If I were to add wire shelves, I would try the Ikea Boaxel shelves like I did in my Fabrikor tall conversion. Installing wire shelves in the Fabrikor series is more difficult than the Milsbo, due to the difference in shelf supports. NOTE: I have not done this shelf conversion, this is just what I would try.
For the Fabrikor (wide), you will need two pieces: a shelf support bar (or C-channel) to hold the wire shelf and the wire shelf, itself.
Measurements of the shelf and C-channel:
- Wire shelf: 15 3/4" depth by 31 1/2" width
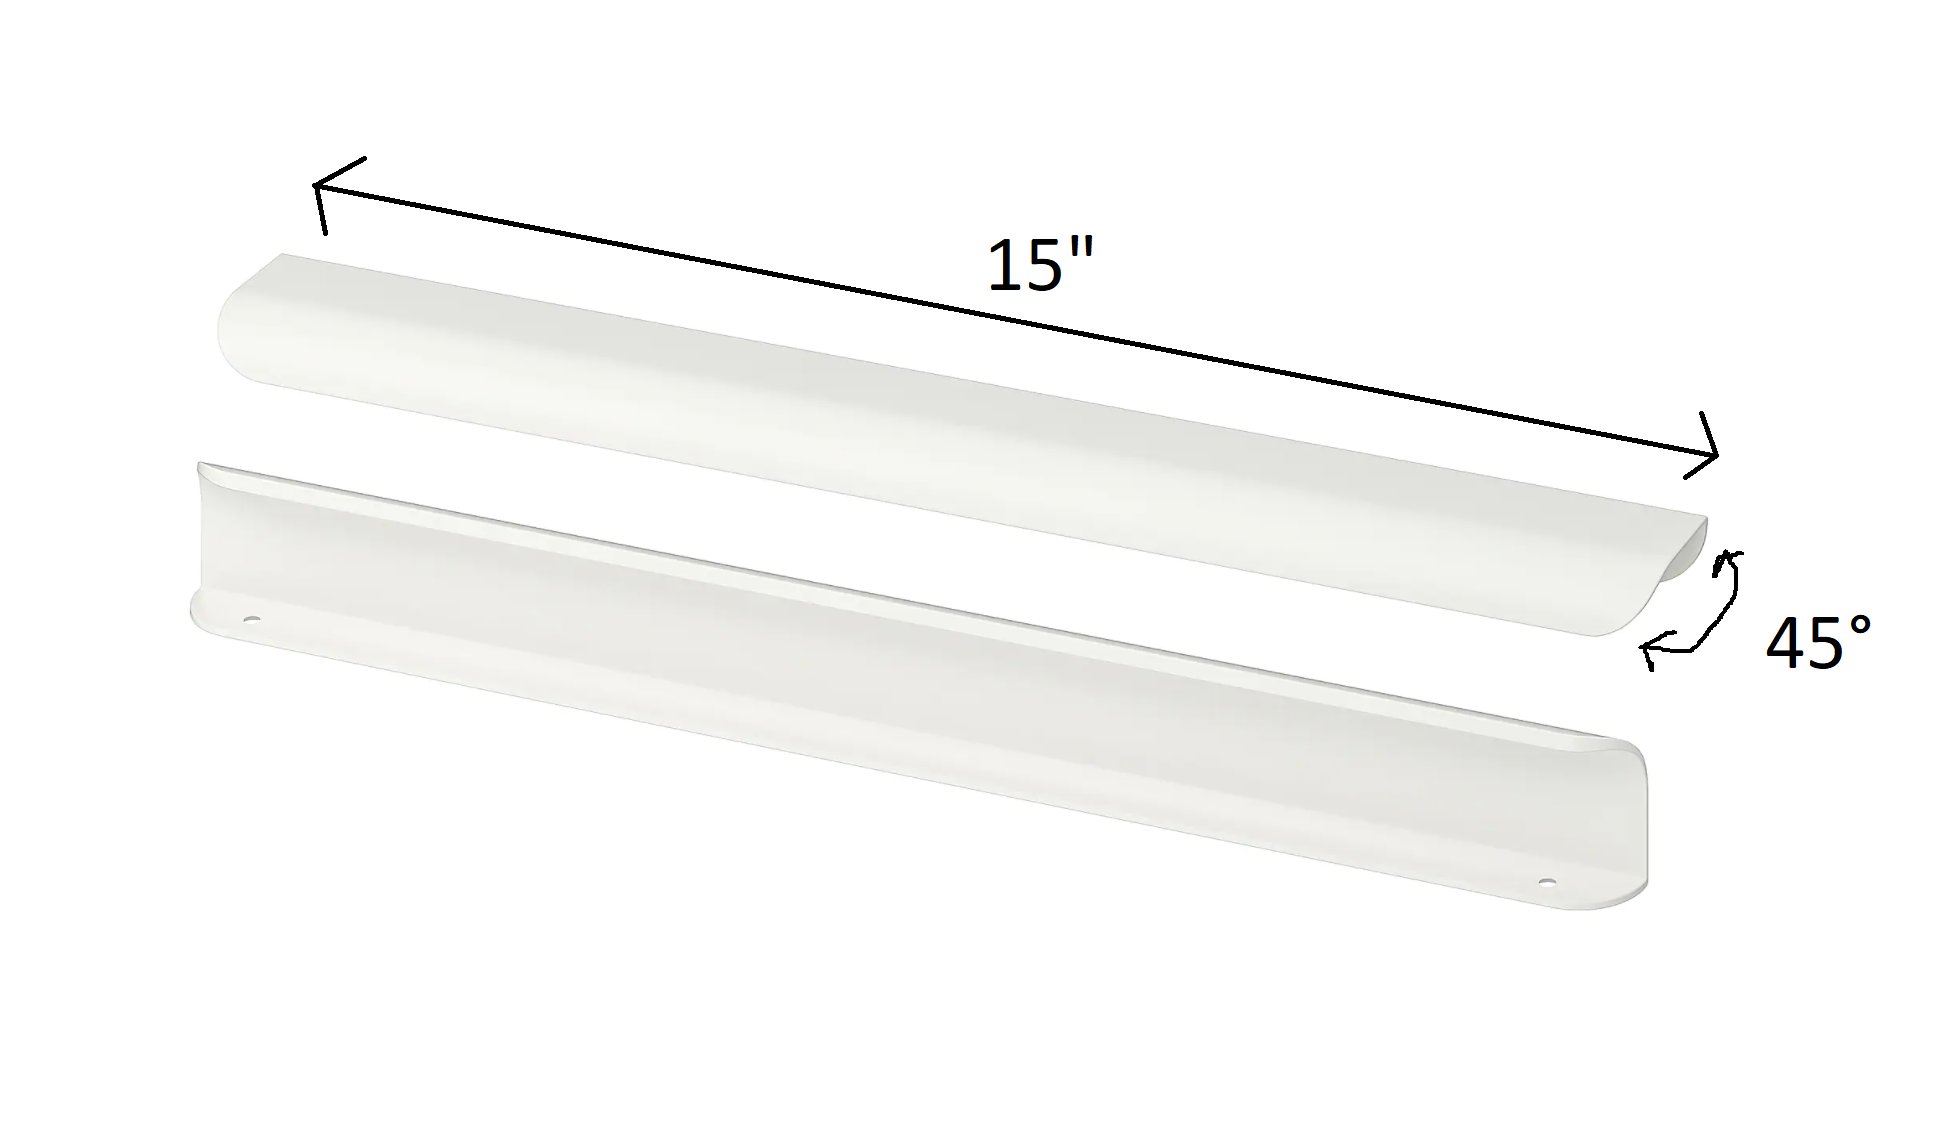
- C-channel: 15" width with tapered corners at 45 degrees
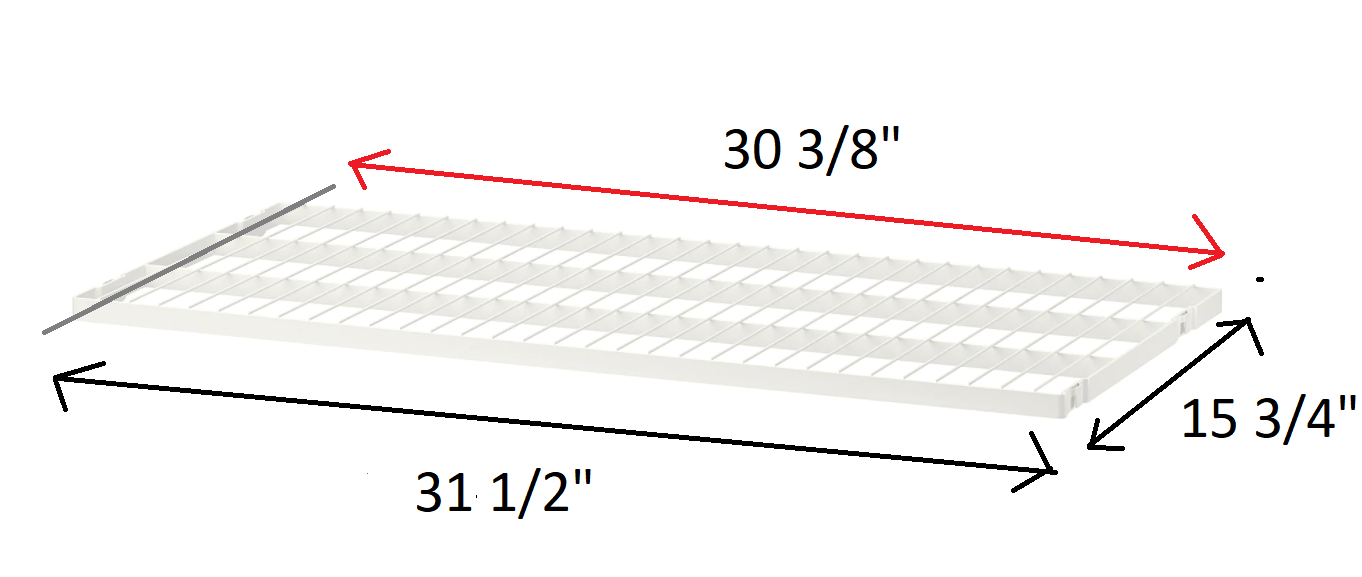
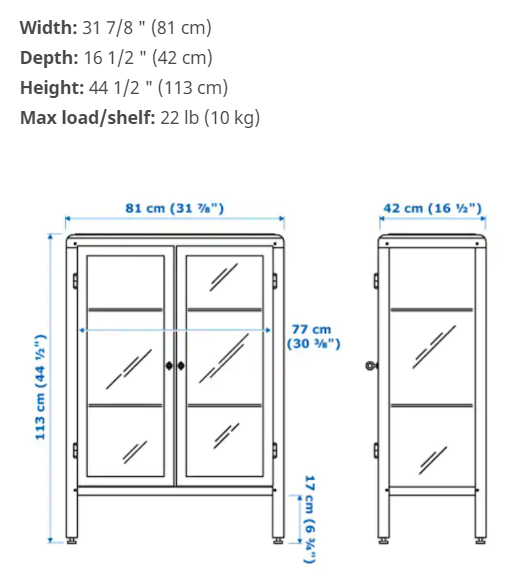
The Ikea Boaxel Shelf (40cmx80cm) is nearly the perfect width (30 3/8") and is the perfect width (15") for the Fabrikor wide. 15 inches is a very uncommon depth for other commonly found wire shelving (e.g. Rubbermaid), if you buy other wire shelves, the depths are usually 12", 16", and 20".
The Boaxel shelf is 31 1/2" wide, and the Fabrikor is 30 3/8 wide, thus, you will probably have to cut one bar off as indicated in the photo above in gray. I would cut with a bolt cutter or a hack saw, check out my Fabrikor (tall) post to see my cutting experience.
To hold the shelf up, I used the Ikea Billsbro 15" handles. They are the perfect length (15") and have an angle that contours exactly to the corners of the Fabrikor.
Using the shelf supports that originally come wit the Fabrikor. First, lay the Billsbro on the left side on the two Fabrikor shelf racks, put the wire shelf in such that it's supported by the Billsbro. Then, with the wire shelf still at an angle, put the right side of the wire shelf into the Billsbro and then place both pieces together onto the two shelf racks. It should fit snuggly.
Skadis Pegboard
Installing a pegboard allowed me to take advantage of the vertical space, but not being restricted to having only small plants.
There are a few sizes of the Skadis pegboard, the 30" x 22" fits the width perfectly. I used M6 machine screws and a bolt to install the pegboard into the top hole in the Fabrikor.
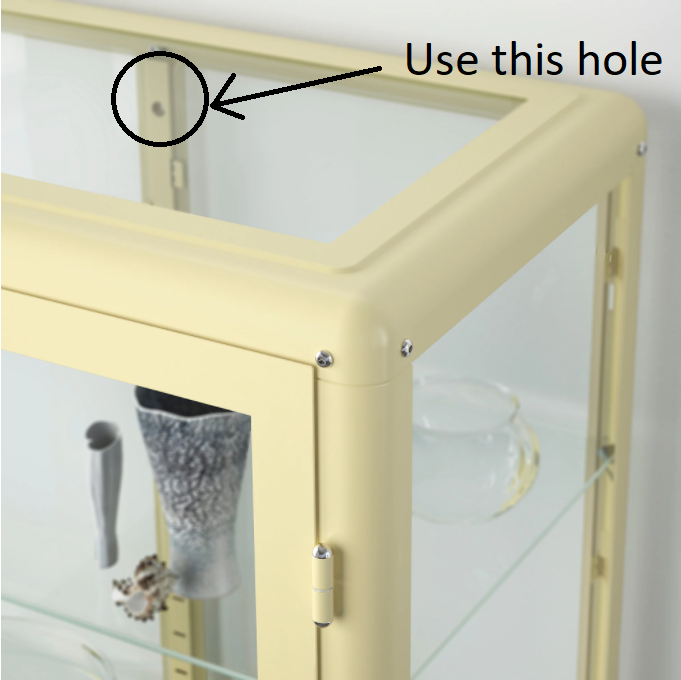
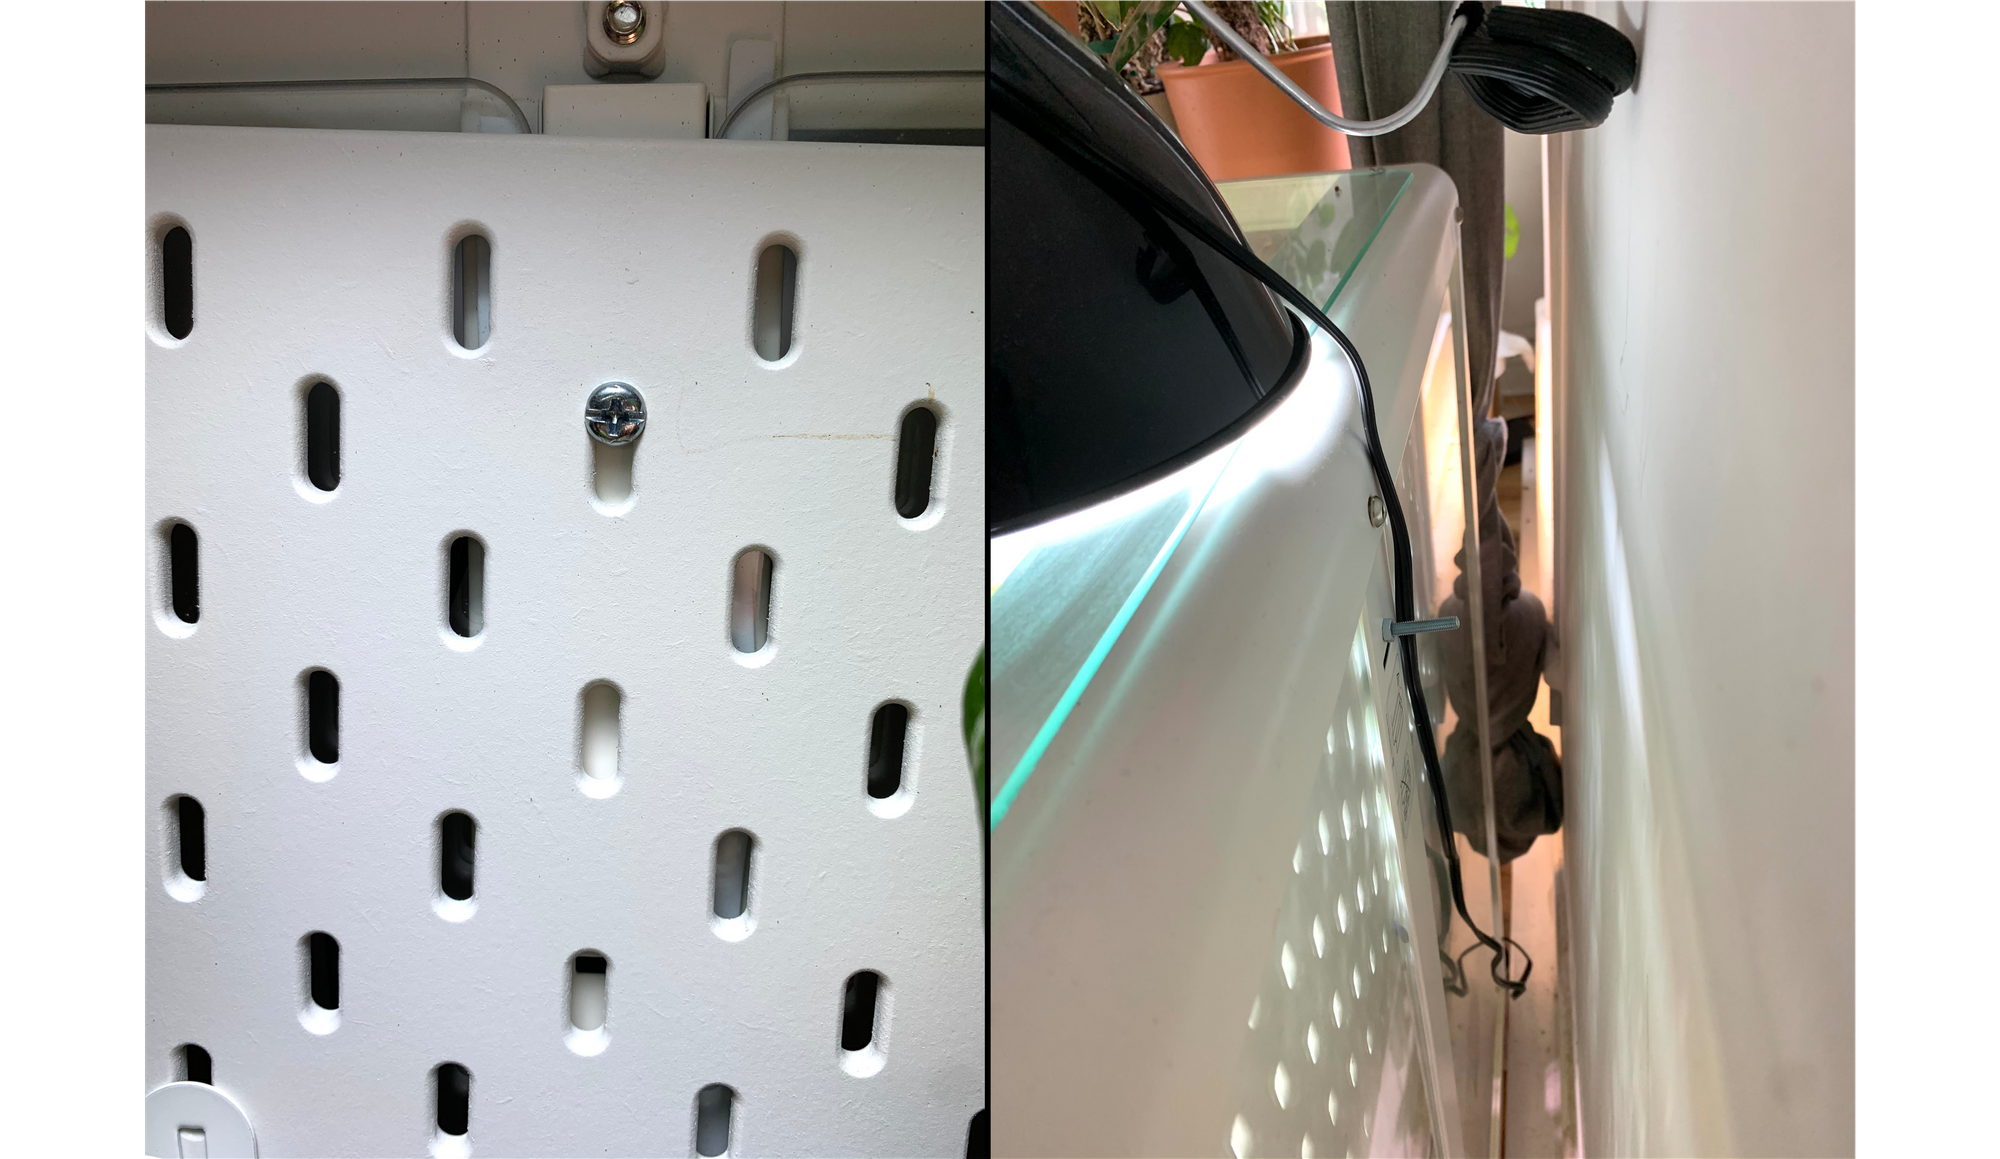
Align the top hole of the Skadis pegboard with the top hole of the Fabrikor. Put the screw the Skadis and then through the Fabrikor, once through, use a bolt in the back of the cabinet to secure it (see below).
Skadis pegboard accessories:
- Shelf
- Pegboard clips
- Containers
- Hooks for installing fan
Lights:
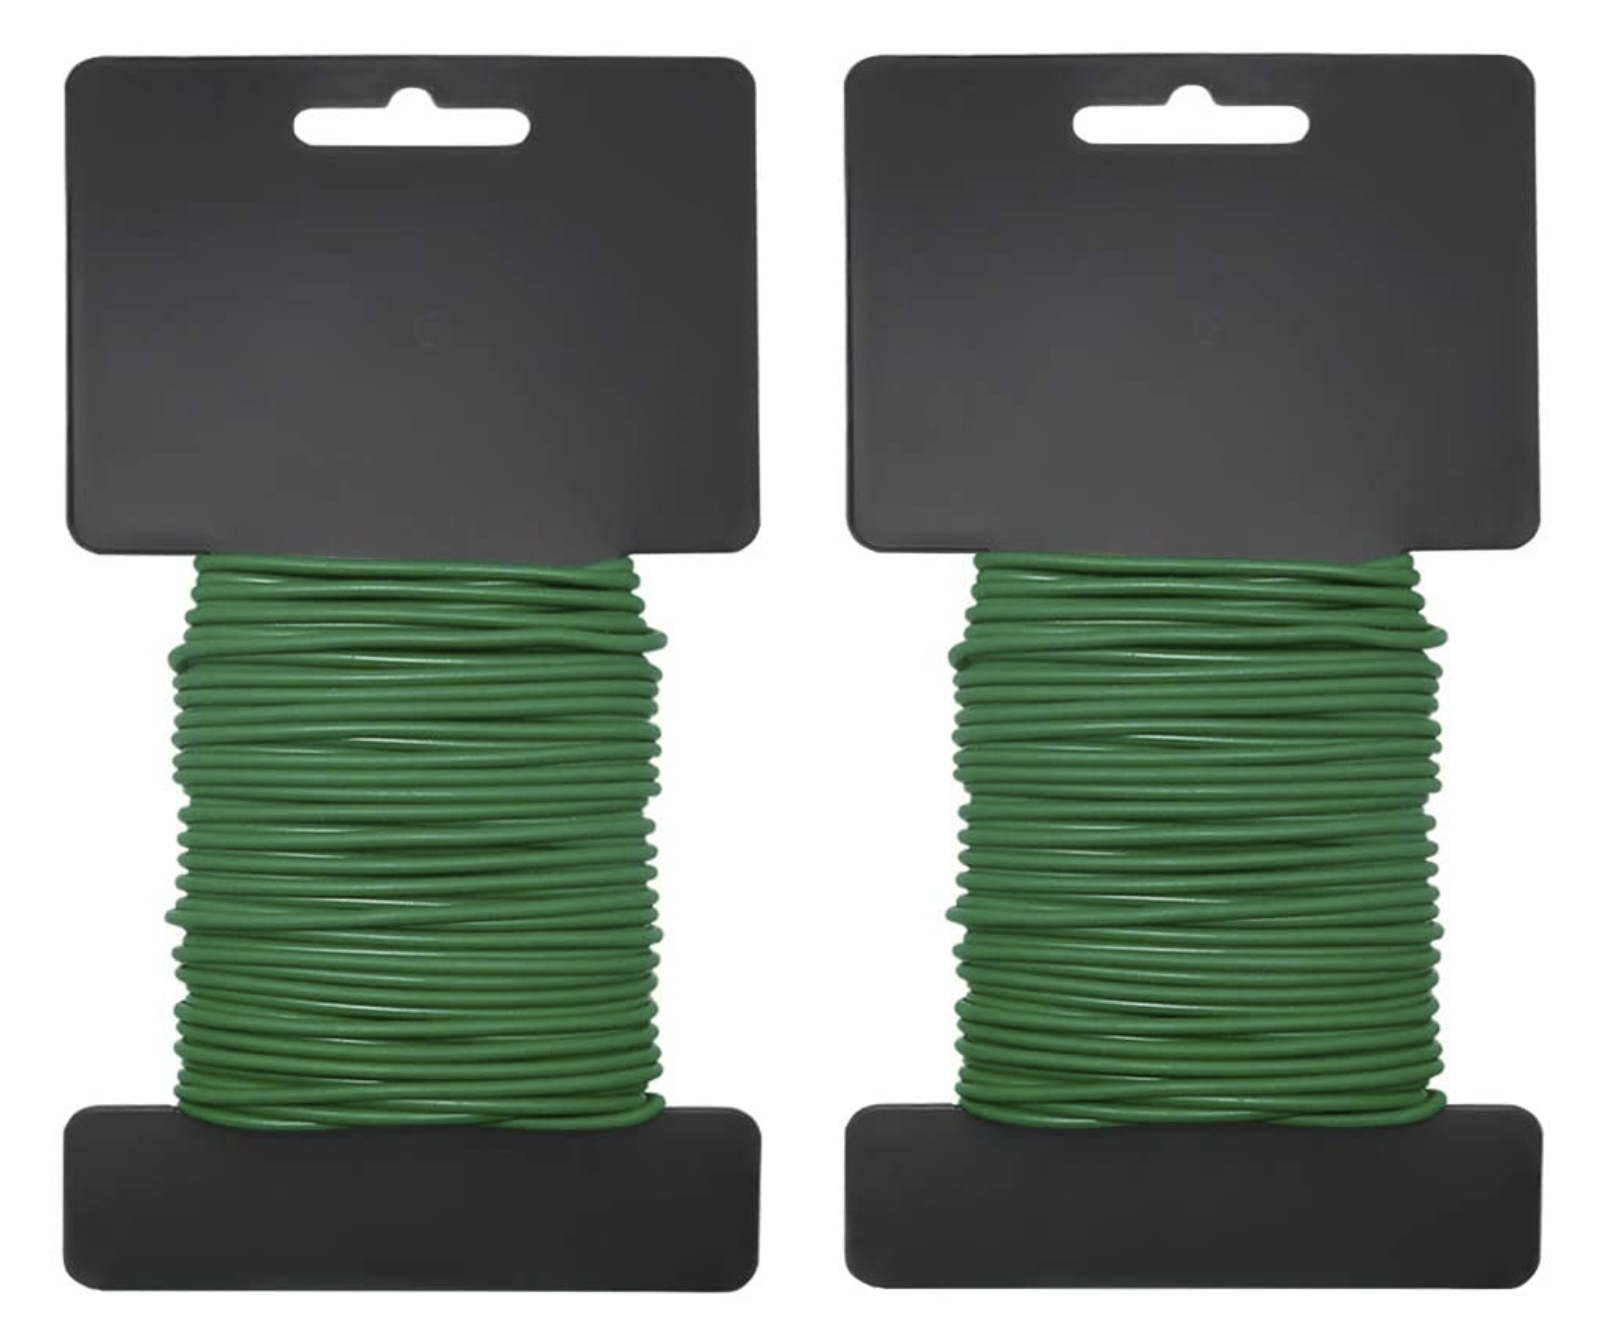
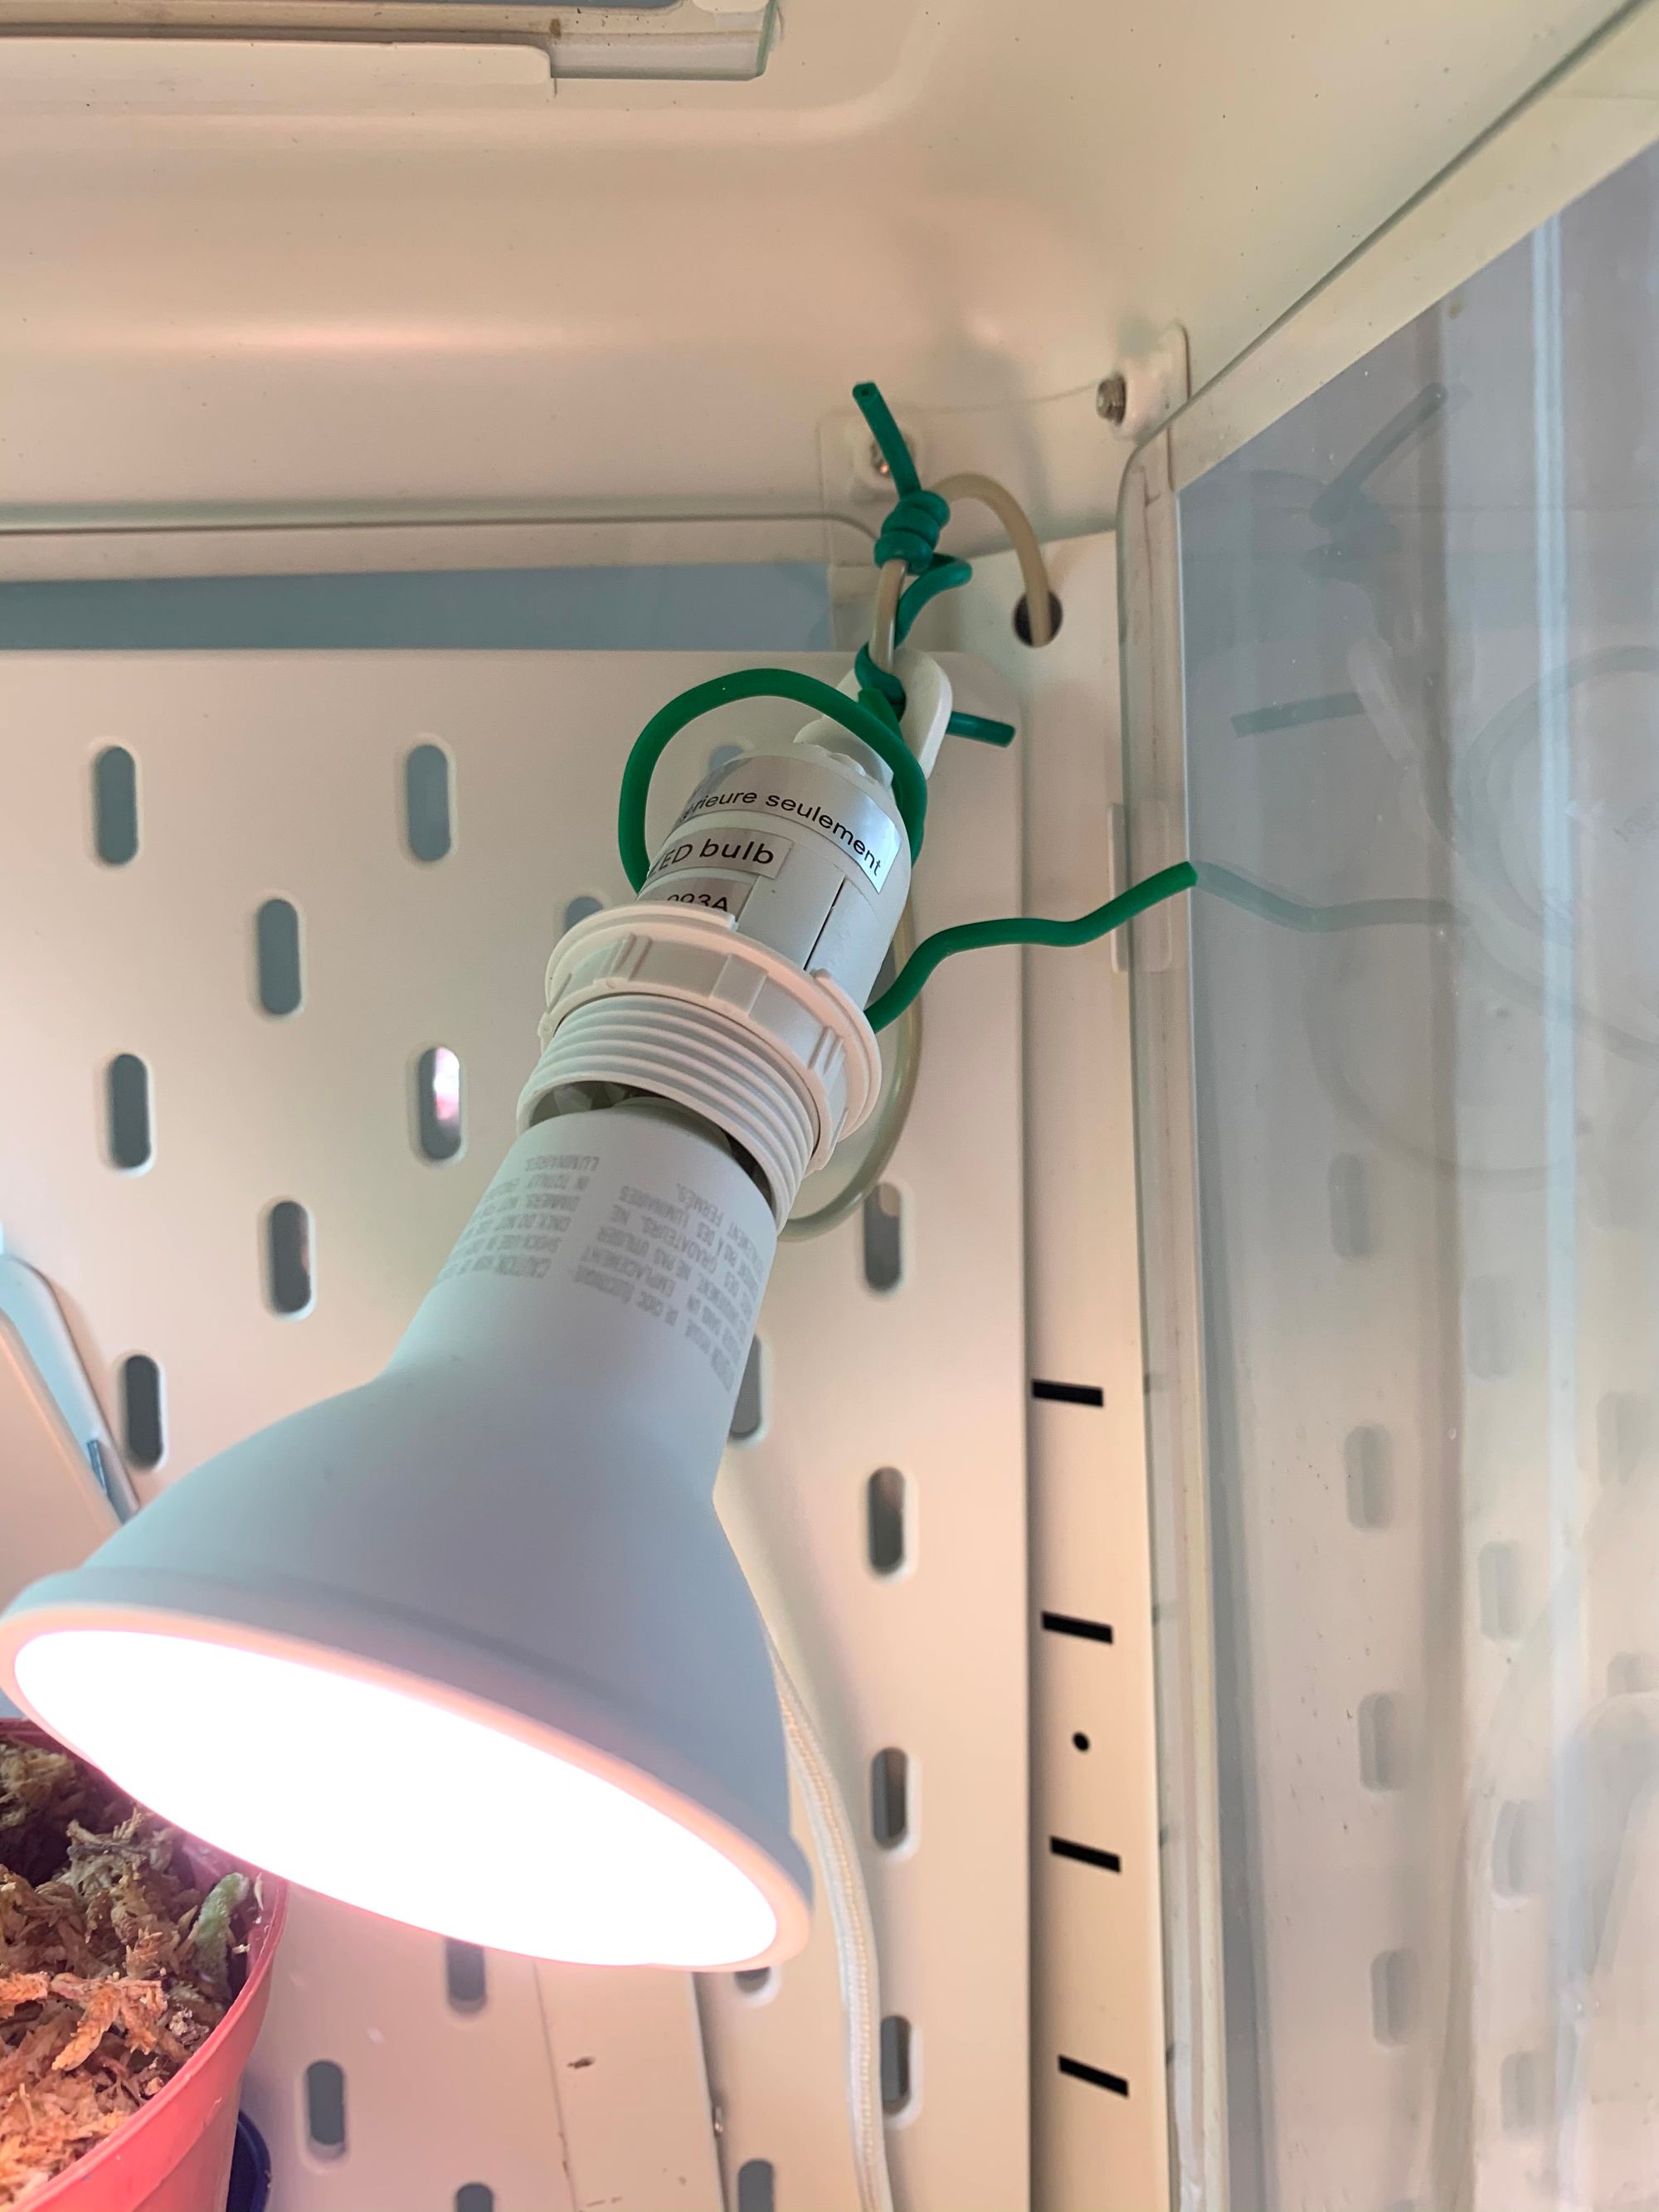
I did the conversions to this cabinet before finding the Facebook group, Ikea Greenhouse Club. Thus, my installation of lights is pretty different and was just me doing what I could with the materials I had on hand: S-hooks and rubber garden ties (purchased at Dollarama).
I attached the light cord to the S-hook using the garden tie wrap. Then I fixed it into the hole in the corner of the Fabrikor.
Fans
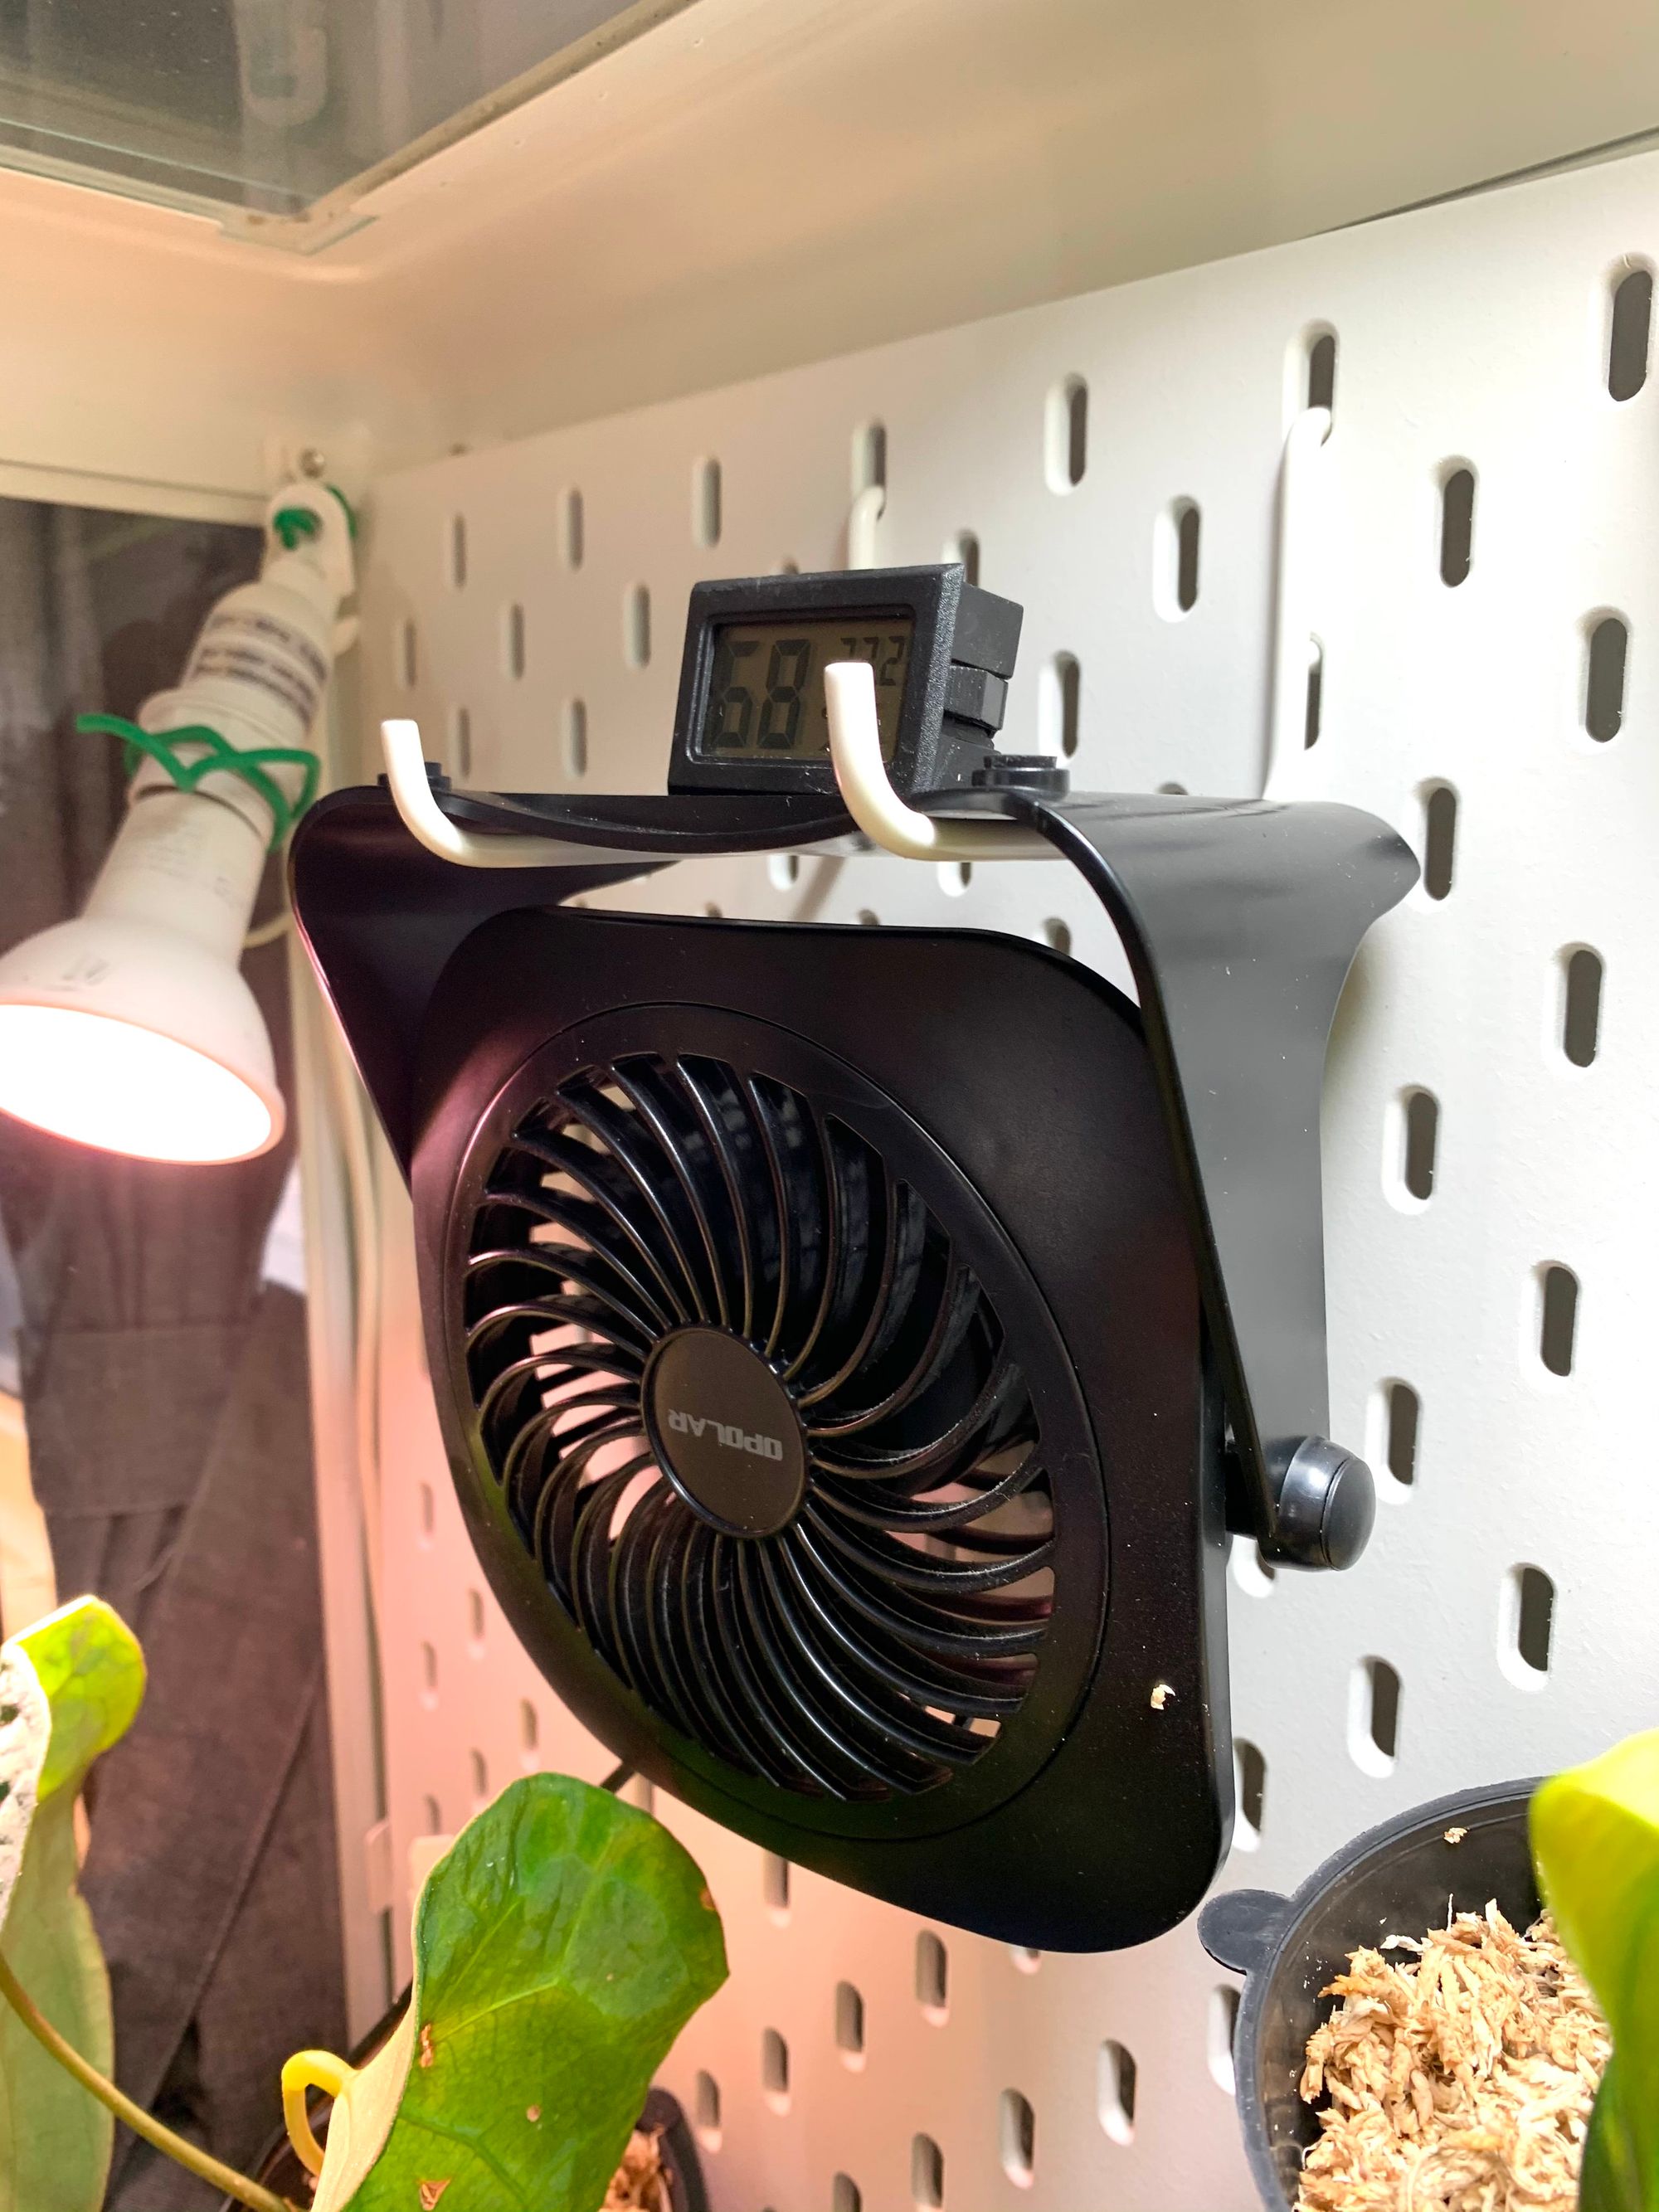
Humidity and adequate airflow come hand-in-hand. Without proper airflow, the air inside your cabinet will become stagnant, which increases the chances of root rot.
I used a USB fan with a manual power switch so it could be controlled with my smart plug (Note: The fan pictured in my conversion is no longer available, so I now recommend this similar Honeywell fan). The Skadis hooks holds the fan's base perfectly keeping it level.
Humidity and Humidifiers?
Without weatherstripping (to be addressed below) or a humidifier but with a pebbly tray, my humidity is around 75-82%.
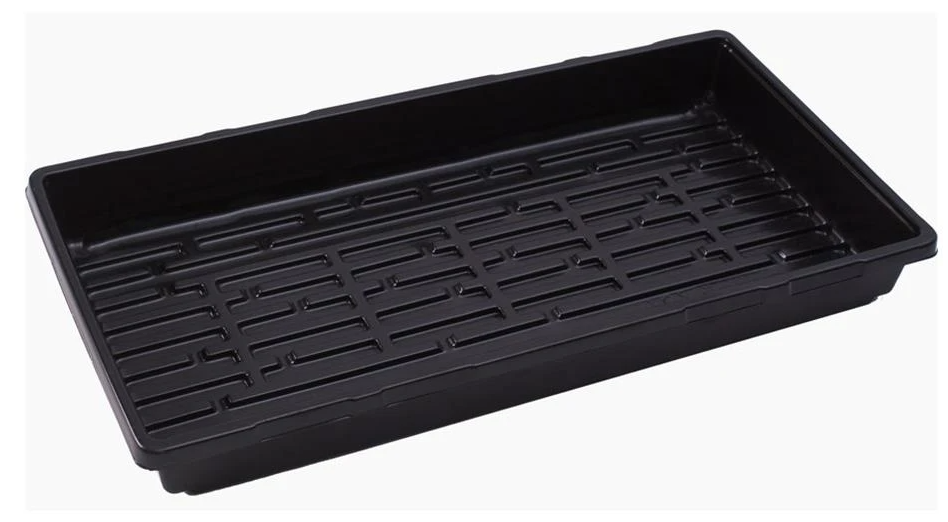
For the pebble tray, I use a large garden tray that I found at a local garden centre, if you're in Montreal, it's Floreal Laval. Fill the garden tray with pebbles or LECA. Then place your plants on top and fill with water just so it covers the top of the LECA.
Winter is coming and I have noticed that it's much drier. Thus, I will be adding weatherstripping to this cabinet and update the post accordingly. I have purchased this weatherstripping foam:


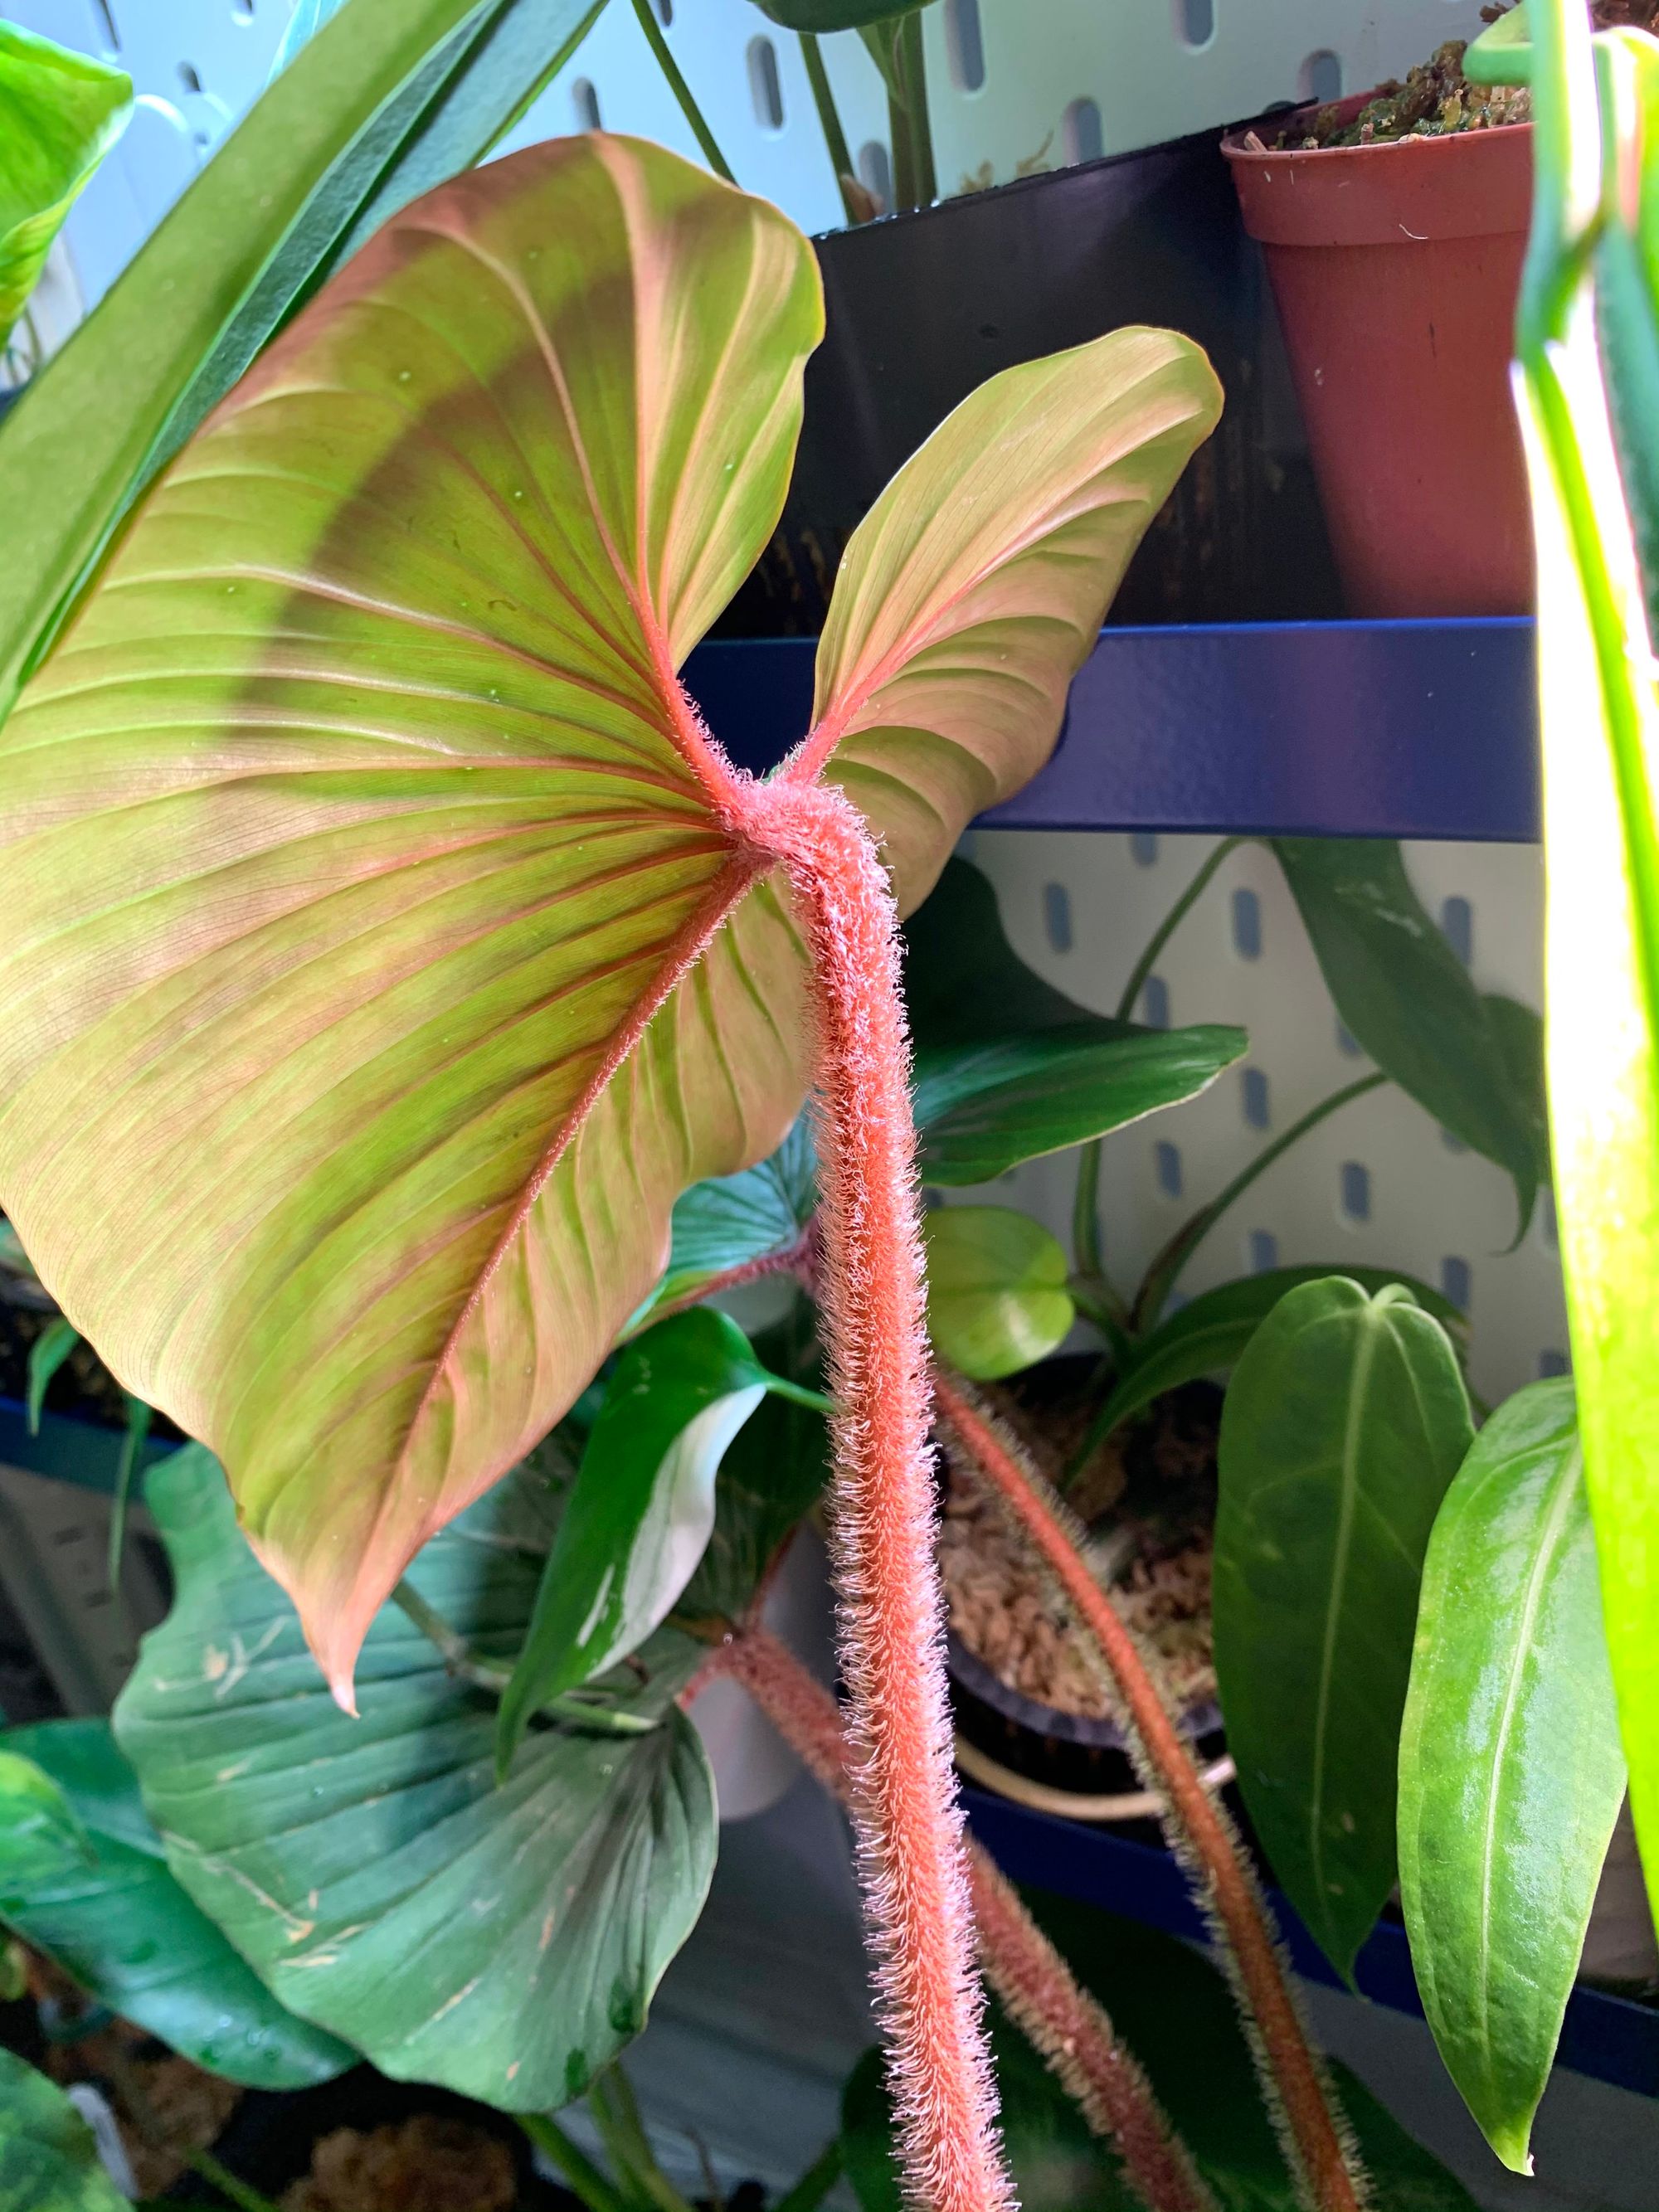
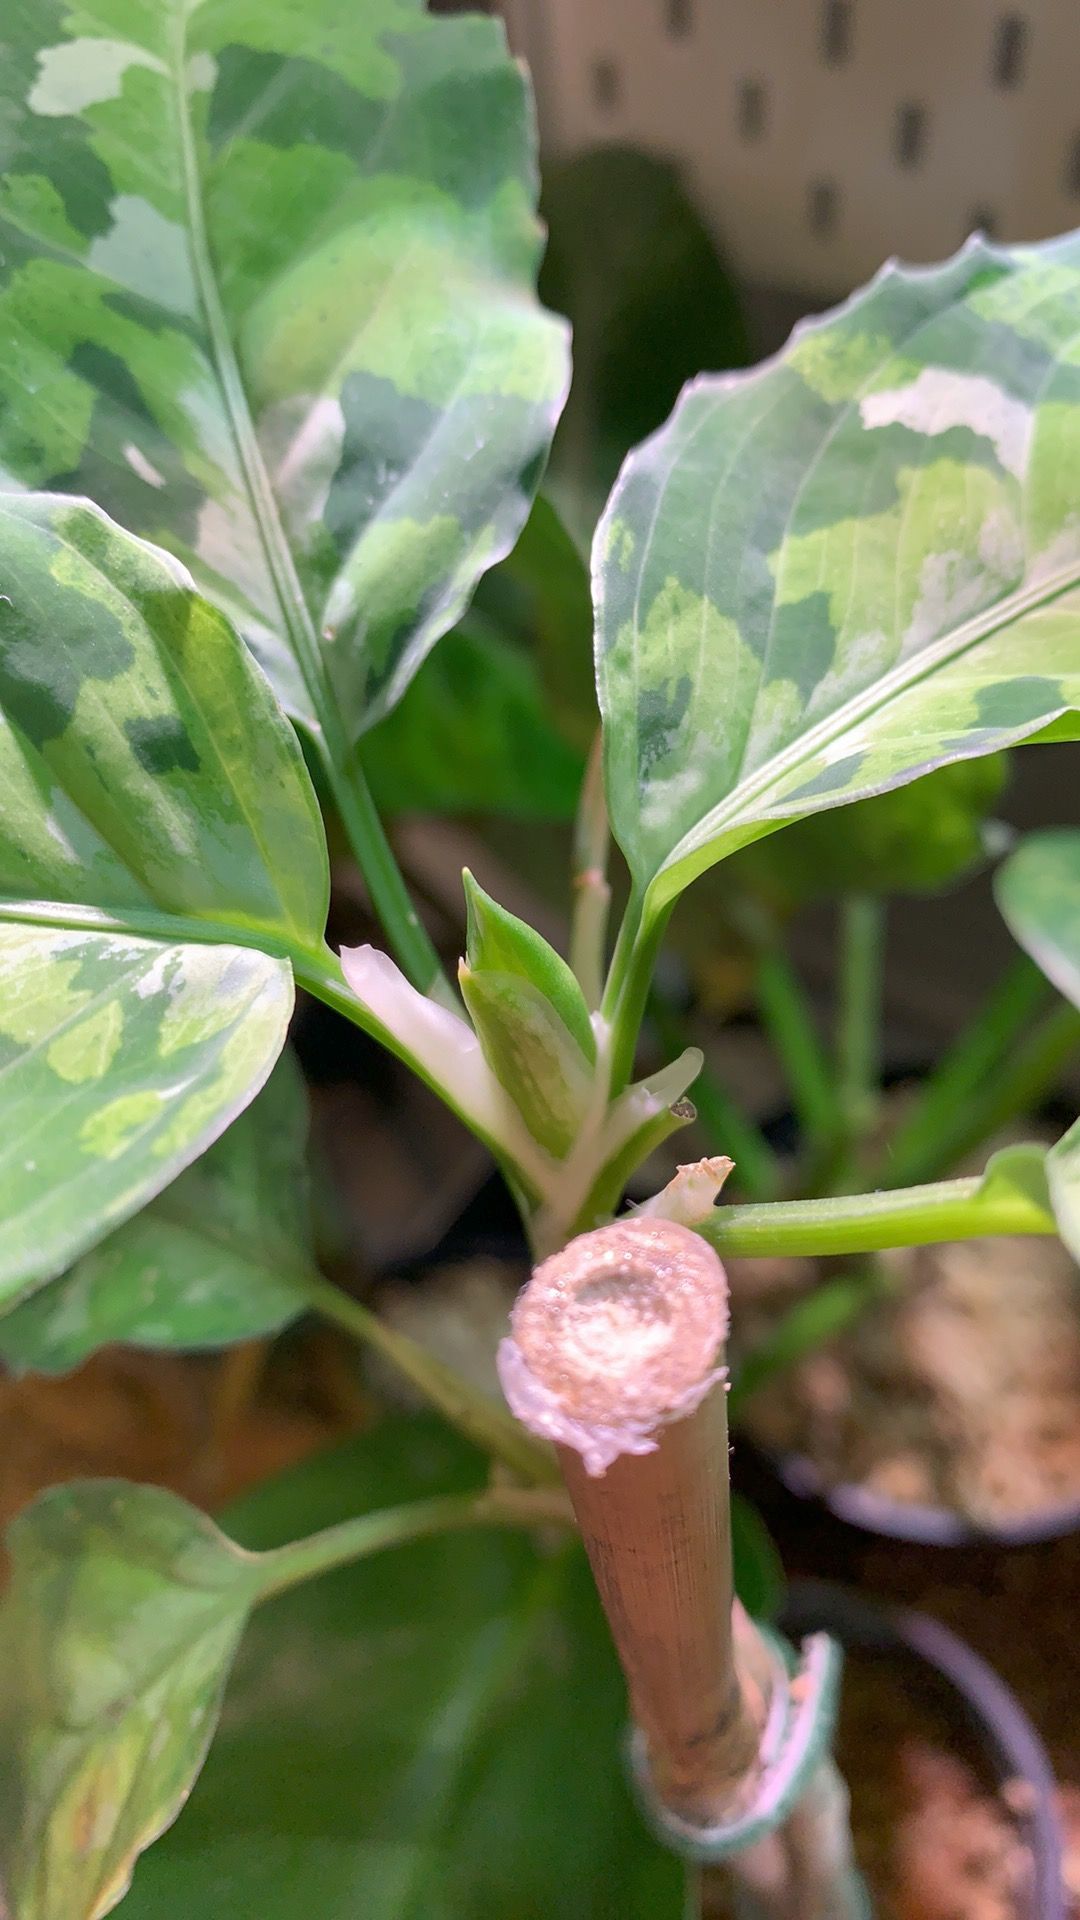
Finishing off with some pictures of very happy plants that acclimated in my cabinet: